Small overlooked details that make the most difference
People often assume a more polished look means more product or more time. In reality, "polished everyday makeup" is usually the result of cleaner prep, smarter tools, and a few precise placement choices. Use these approachable adjustments to make your usual routine look intentional rather than rushed.
Start by refining skin prep and base
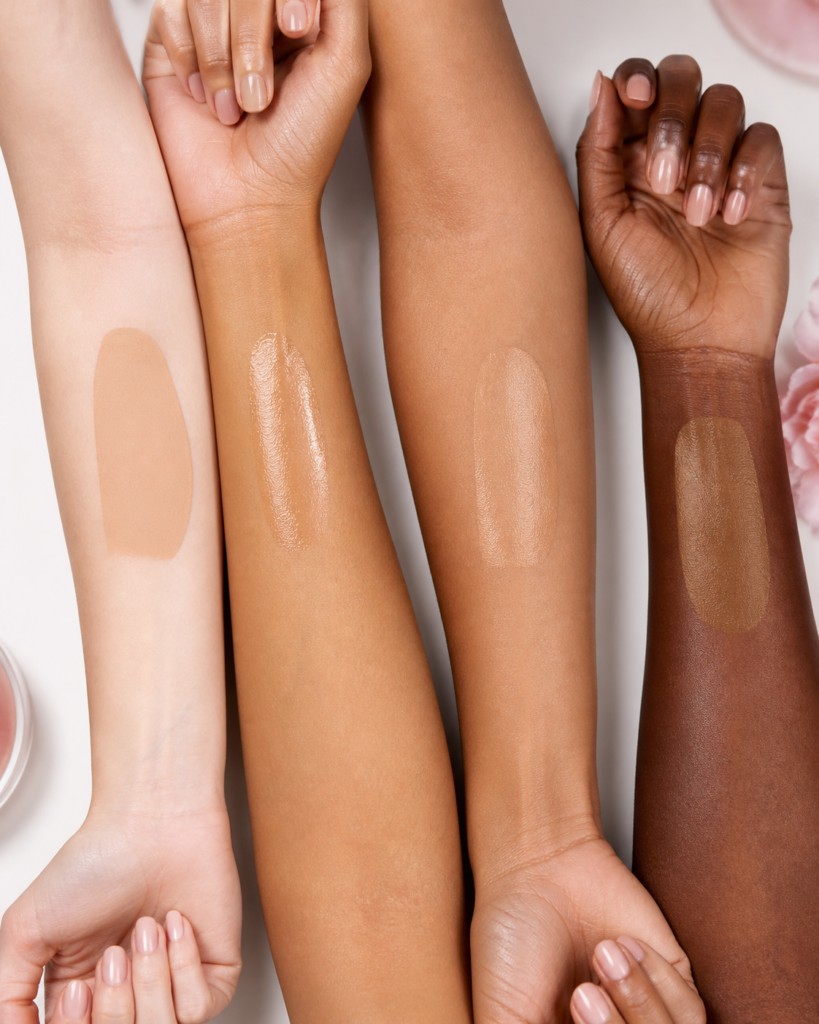
A smooth, matched base sets the tone. Quick wins:
- Hydrate briefly but purposefully: a thin layer of moisturizer or a lightweight, fast-absorbing serum will reduce patchiness and make foundation sit better. If you have oily areas, apply moisturizer more sparingly there and use a hydrating primer only where skin looks textured.
- Pick the right amount of foundation: dot product where you need coverage (center of face, redness spots) and blend outward. Less product at the start means you can build only where necessary, avoiding a cakey finish.
- Use a small, dense brush or damp sponge to press product into skin instead of dragging—this removes streaks and preserves skin texture.
Refine coverage with targeted correction
Instead of full-face heavy concealer, address exact concerns:
- Color correct only where it helps: a peachy concealer for under-eye blue tones, a green-tinted product for localized redness. Blend edges well so the correction disappears within your foundation.
- For blemishes, use a tiny brush to apply concealer directly on the spot, lightly press the product with a finger or sponge, then set with a touch of translucent powder.
Improve blending: the easiest visual upgrade
Polish is often about seamless edges. Focus on transition zones: jawline, hairline, and neck. Use a soft, fluffy brush to diffuse any hard lines—especially where bronzer or contour meets skin. When working with cream products, blend immediately before they set.
Upgrade one tool: better brushes, better finish
A single quality product can change your result. For many, prepping the under-eye area with IT Cosmetics Confidence in an Eye Cream Anti-aging Peptide Moisturizer before applying concealer helps makeup sit more smoothly than skipping hydration. If your brushes are dirty, a cleaner will restore performance—clean brushes also reduce patchiness and discoloration.
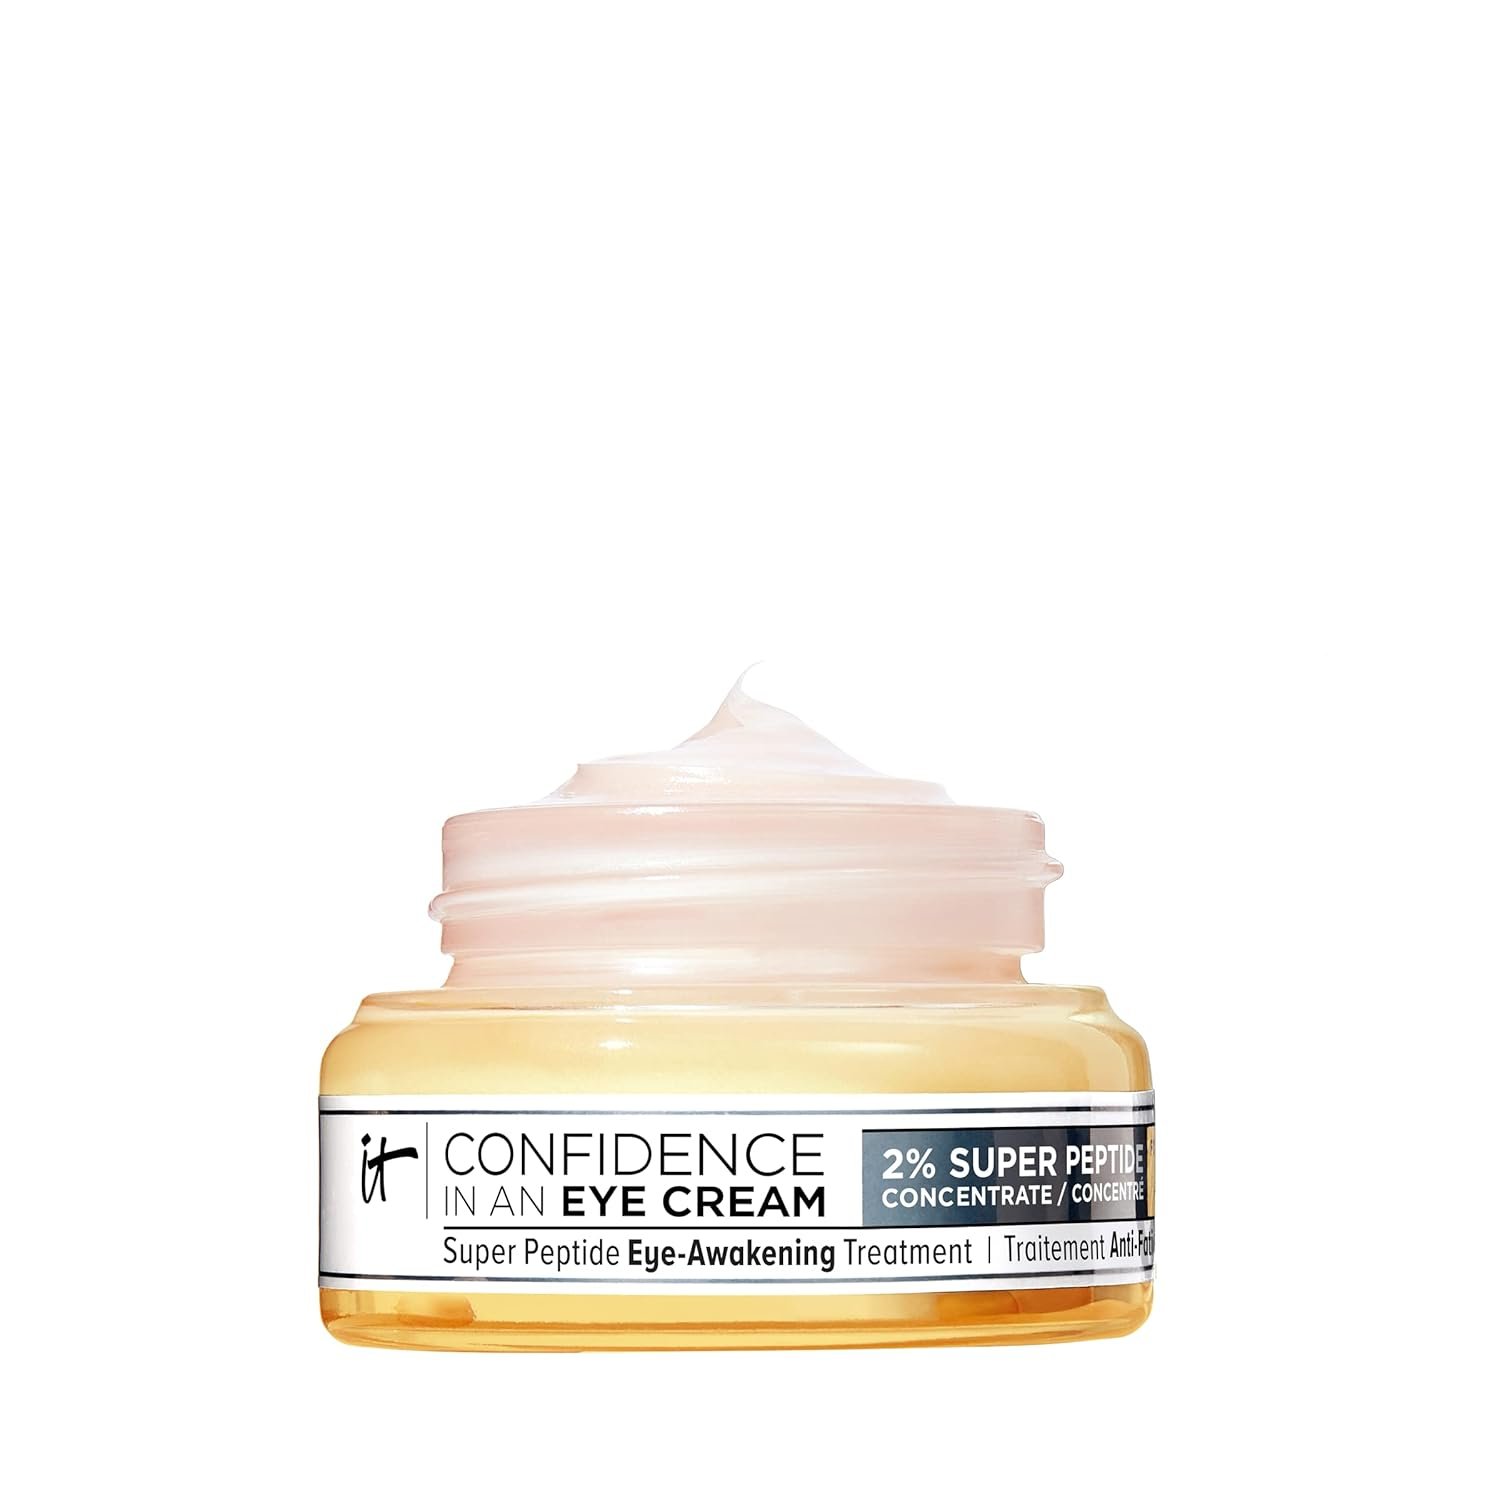
IT Cosmetics Confidence in an Eye Cream Anti-aging Peptide Moisturizer
A catalog product selected because it closely matches this part of the beauty guide.
Shape brows with small, deliberate strokes
Brows frame the face; neatening them is a quick polish. Use a fine-tipped pencil or a microbrow pomade to make short, hairlike strokes where hairs are sparse, then comb through with a spoolie. Finish with a clear or tinted brow gel to set hairs in place—this looks neater than harshly drawn block brows.
Lift eyes with simple lash and shadow choices
Polish doesn't mean dramatic eyes. Try these subtler tactics:
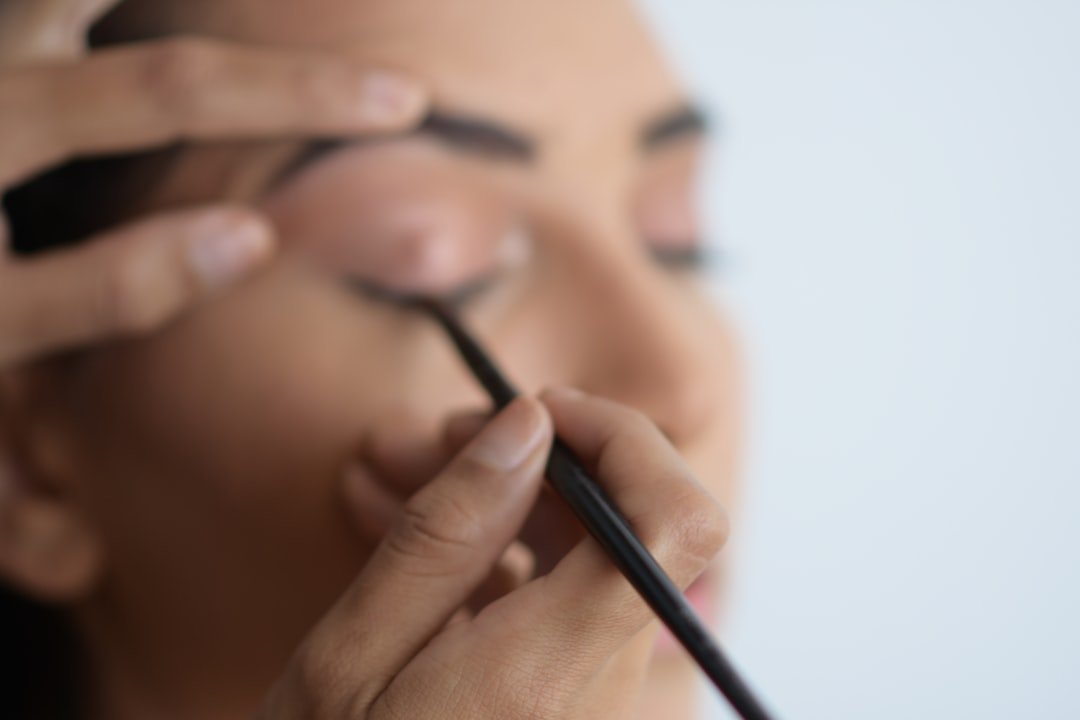
- Apply a thin, tight line of eyeliner at the base of the lashes (tightlining) to make lashes appear fuller without heavy liner lines.
- Choose one neutral matte shade slightly darker than your skin tone and sweep it into the crease for soft definition; avoid heavy shimmery shades in daytime looks.
- For mascara, focus on root-to-tip separation—wiggle the wand at the base, then comb through with a clean spoolie if lashes clump.
Use powder strategically, not all over
Powder can either age or refine. Instead of dusting the entire face, apply a small amount where you need longevity: the T-zone or under-eye area to set concealer. A very light dusting of a silky, soft-focus powder over the cheeks can blur pores without flattening natural radiance.
Bring life back with precise color placement
When color looks placed and deliberate it reads as polished:
- Blush: Smile and sweep blush on the apples of the cheeks, then blend slightly upward toward the temple for a lifted look. Cream formulas melt into skin better for a dewy finish under powder.
- Lip: Prep with balm, then blot. Apply a muted shade that complements your natural lip color and use a fingertip to press and soften the edge for a lived-in but tidy finish.
Finish with targeted touch-ups, not a full re-do
Carry three small items in your bag—a blotting paper, a mini lip color or balm, and a small pressed powder with a puff or sponge. Blot shine, press a little powder where needed, and refresh lips. These micro-adjustments maintain the polished effect without heavy layering.
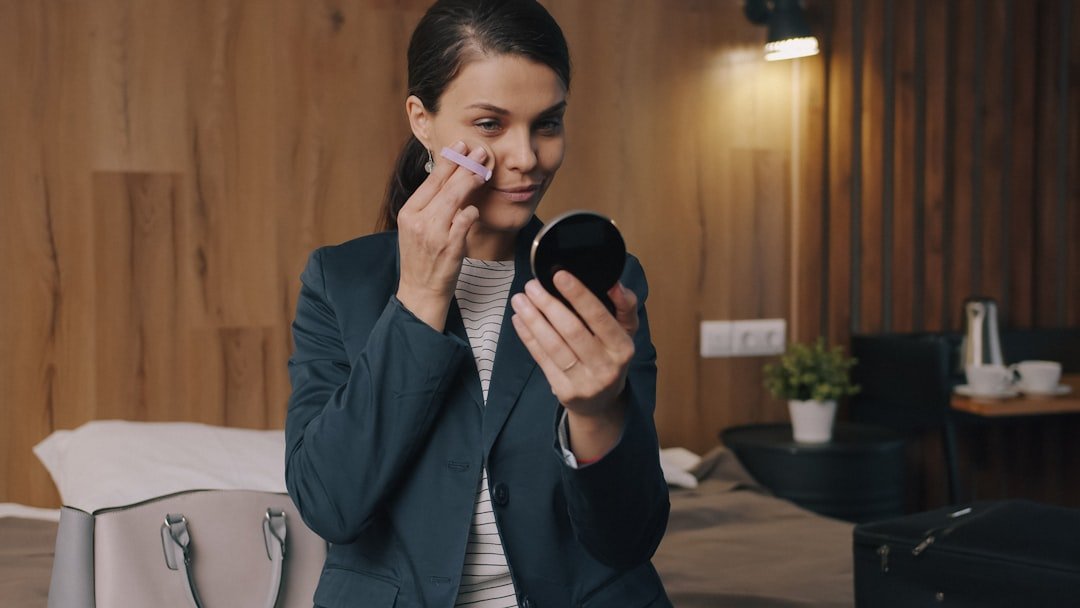
- Moisturized skin with targeted primer where needed
- Foundation blended and only built where necessary
- Brows combed and set with short strokes filled in
- Lashes separated and mascara cleaned up with a spoolie
- Blotting paper, mini lip, and compact powder in your bag
Making everyday makeup look more polished is mostly about technique: hydrate correctly, use precise application, and choose one reliable tool to upgrade your finish. With a few deliberate moves you’ll look put-together without investing more time.
How long will these changes add to my routine?
Most adjustments add only 2–5 minutes: better blending, a quick brow comb and lash separation, and precise concealer placement are quick but high-impact.
Should I switch all my products to matte finishes to look polished?
No. Matte formulas can look flat; mix textures—use cream blush or a light illuminating powder—so skin reads natural and refined.
How often should I clean brushes to keep a polished finish?
Ideally weekly for face brushes if used daily; at minimum every two weeks. Clean tools blend better and prevent color muddying.
What’s the single most important change for someone short on time?
Improve blending: use a small dense brush or damp sponge to press and blend foundation and concealer—this yields the biggest visual upgrade for minimal time.